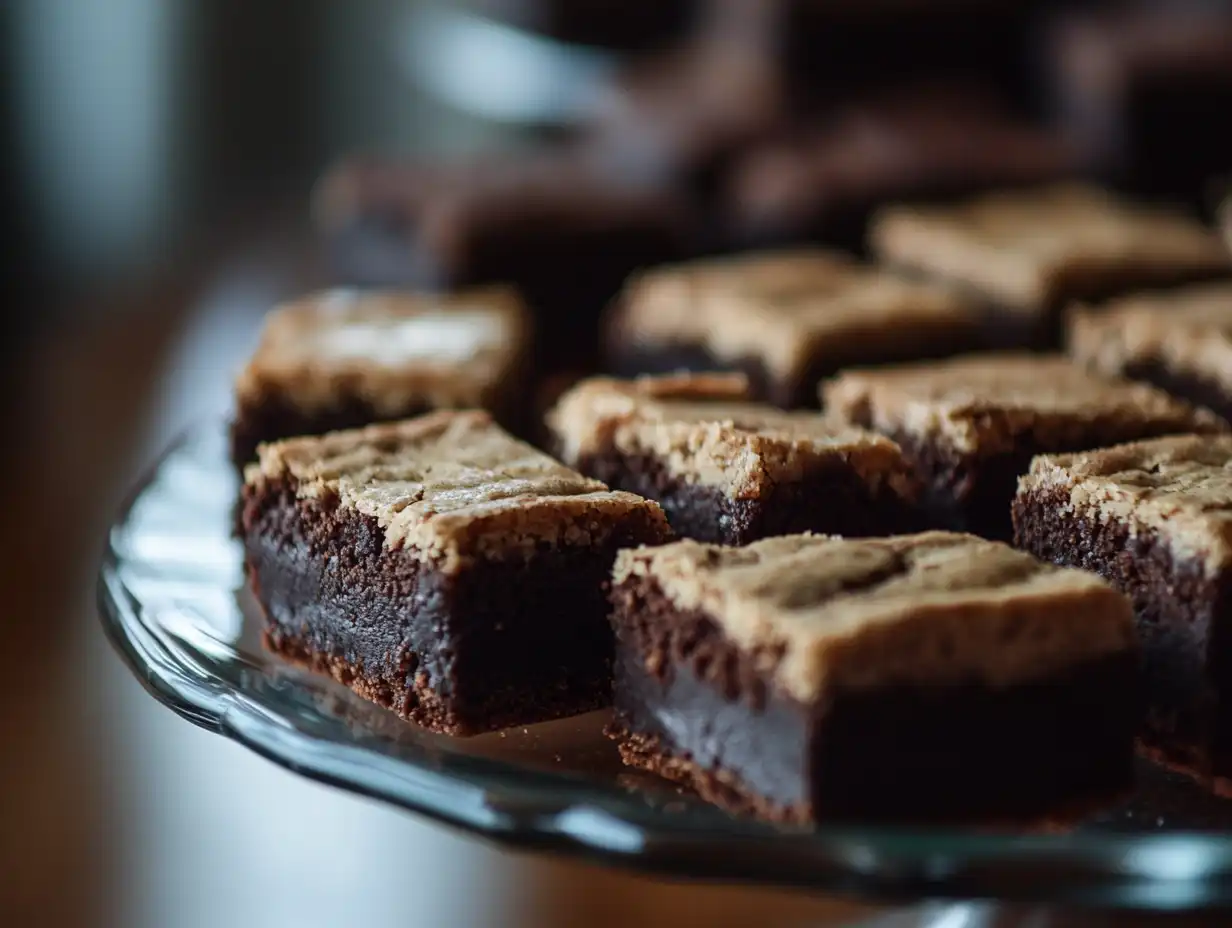
Desserts have always been a cherished indulgence, but nothing quite captures the heart like a brookie recipe a delightful hybrid of two iconic treats: brownies and cookies. The brookie combines the best of both worlds, featuring the fudgy richness of a brownie on one side and the chewy sweetness of a cookie on the other. It’s the perfect treat for anyone who can’t decide between these two favorites!
In this brookie recipe, you’ll learn how to make the ultimate brookie from scratch. Whether you’re a seasoned baker or a beginner, this step-by-step guide will ensure a flawless result every time. Get ready to whip up a dessert that will impress friends, family, and your own taste buds!
What is a Brookie?
History of the Brookie
The brookie, short for “brownie cookie,” first gained popularity in bakeries and home kitchens as a creative mashup dessert. The idea originated from dessert enthusiasts looking to merge the decadence of brownies with the playful crunch of cookies. Over time, this unique treat has evolved to include various twists and versions that cater to diverse tastes.For a deeper dive into this hybrid dessert, explore What is a Brookie Made Of?.
Popularity and Variations
Brookies have become a staple in the dessert world due to their versatility. From adding a peanut butter swirl to creating individual brookie cups, the possibilities are endless. Their popularity is fueled by their rich flavors and the delightful textural contrast between layers.
Ingredients Overview
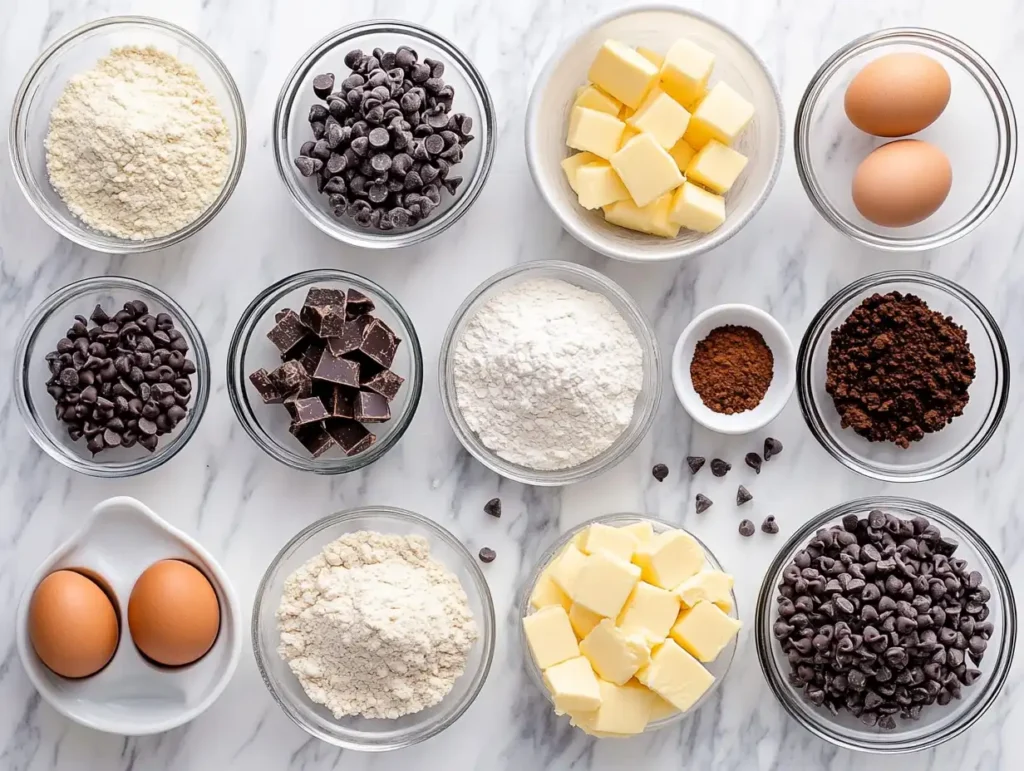
The foundation of a great brookie lies in high-quality ingredients. Here’s a breakdown of what you’ll need to craft the perfect brookie.

Essential Ingredients
For the Brownie Layer:
- Unsalted Butter: Adds richness and keeps the brownie moist.
- Granulated Sugar: For sweetness and structure.
- Brown Sugar: Adds a hint of molasses and chewiness.
- Cocoa Powder: Opt for unsweetened for a deep chocolate flavor.
- All-Purpose Flour: Provides the necessary structure.
- Eggs: Acts as a binding agent and adds richness.
- Vanilla Extract: Enhances the chocolate flavor.
- Salt: Balances the sweetness and intensifies flavors.
For the Cookie Layer:
- Unsalted Butter: Creamed with sugars for a soft and chewy texture.
- Granulated Sugar: Helps create a light and crispy edge.
- Brown Sugar: Contributes to the chewy center.
- All-Purpose Flour: Forms the base of the dough.
- Eggs: Adds moisture and binding.
- Vanilla Extract: Adds depth of flavor.
- Baking Soda: Ensures a slight rise and proper texture.
- Chocolate Chips: Semi-sweet or dark for bursts of chocolatey goodness.
Special Optional Add-Ons
- Chopped Nuts: Walnuts or pecans add crunch to the brownie layer.
- Peanut Butter Chips: A tasty complement to chocolate.
- Caramel Swirls: Introduces a gooey texture and caramel flavor.
- Sea Salt Flakes: A sprinkle on top for a sophisticated salty-sweet combo.
Looking for unique flavor twists? Consider the delightful options in our Creative Twists for Brookies, featuring ideas like mint chocolate or s’mores-inspired brookies.
Tools You’ll Need
Preparation is half the battle! Make sure you have essential tools like mixing bowls, an electric mixer, and a 9×13-inch baking pan for the perfect layered dessert. For detailed layering techniques, check out our guide: How to Assemble a Brookie.
Basic Baking Tools
- Mixing Bowls: At least two medium-sized bowls for preparing the brownie and cookie batters separately.
- Measuring Cups and Spoons: Ensures precise measurements for consistent results.
- Electric Mixer or Whisk: Helps in thoroughly blending ingredients, especially for the cookie dough.
- Baking Tray or Pan: A 9×13-inch pan works best for layered brookies.
- Parchment Paper: Prevents sticking and makes cleanup easier.
Optional Gadgets
- Silicone Spatula: Ideal for scraping down the sides of bowls and spreading batters evenly.
- Offset Spatula: Helps smooth out the layers for a professional look.
- Digital Scale: Ensures precise ingredient measurements, particularly for dry ingredients.
- Cooling Rack: Allows the brookies to cool evenly, preventing sogginess.
With these ingredients and tools ready, you’re set to begin the baking process! The next section will guide you through each step of crafting the brownie and cookie layers to perfection.
Step-by-Step Recipe
Crafting brookies requires careful attention to both the brownie and cookie layers. Follow these detailed steps to create a dessert masterpiece.
Preparing the Brownie Batter
- Melt the Butter and Chocolate:
- In a microwave-safe bowl or over a double boiler, melt 1 cup of unsalted butter with 1 cup of chopped dark chocolate (or ¾ cup cocoa powder if preferred). Stir until smooth and glossy.
- Allow it to cool slightly to avoid cooking the eggs in the next step.
- Mix Wet Ingredients:
- In a large bowl, whisk together 1 cup of granulated sugar, ½ cup of brown sugar, and 2 large eggs until the mixture turns pale and creamy.
- Add 2 teaspoons of vanilla extract and the cooled butter-chocolate mixture. Mix until fully incorporated.
- Combine Dry Ingredients:
- In a separate bowl, sift ¾ cup all-purpose flour, ½ cup cocoa powder (if not using melted chocolate), and ¼ teaspoon of salt.
- Gradually fold the dry ingredients into the wet mixture, being careful not to overmix. The batter should be thick and fudgy.
- Set Aside:
- Pour the brownie batter into a parchment-lined 9×13-inch baking pan and spread it evenly. Set aside while preparing the cookie layer.
Making the Cookie Dough
- Cream Butter and Sugars:
- In a mixing bowl, cream together ¾ cup unsalted butter, ¾ cup granulated sugar, and 1 cup brown sugar until light and fluffy (about 2-3 minutes).
- Incorporate Wet Ingredients:
- Beat in 2 large eggs, one at a time, ensuring each is fully incorporated before adding the next.
- Add 2 teaspoons of vanilla extract and mix until combined.
- Mix Dry Ingredients:
- In a separate bowl, combine 2 ½ cups of all-purpose flour, 1 teaspoon baking soda, and ½ teaspoon salt.
- Gradually add the dry mixture to the wet ingredients, mixing on low speed until a dough forms.
- Add Chocolate Chips:
- Fold in 2 cups of semi-sweet chocolate chips (or a mix of your favorite add-ins like nuts or white chocolate chips).
Combining the Layers
- Layer the Brownie Batter and Cookie Dough:
- Smooth the brownie batter evenly into the prepared pan.
- Drop spoonfuls of cookie dough over the brownie layer, spreading gently to cover most of the surface. Don’t worry if some brownie batter peeks through; this creates a marbled effect.
- Optional Toppings:
- Sprinkle extra chocolate chips or sea salt flakes over the top for added texture and flavor.
Baking Tips
- Bake to Perfection:
- Preheat your oven to 350°F (175°C). Bake the brookies for 30-35 minutes, or until a toothpick inserted into the center comes out with a few moist crumbs.
- Check halfway through to ensure even baking. Rotate the pan if necessary.
- Cooling:
- Allow the brookies to cool in the pan for 20 minutes before transferring them to a wire rack. Cooling ensures clean slices and prevents crumbling.
You’ve now mastered the art of layering and baking the perfect brookie! In the next section, we’ll explore exciting variations and creative twists to customize your brookie recipe.Confused about brookies versus blondies? Learn more about their differences in our article: What’s the Difference Between a Blondie and a Brookie?.
Variations to Try
Brookies are a versatile treat that can be adapted to suit different dietary needs and flavor preferences. Here are some fun and creative ways to put your own spin on this classic dessert.
Gluten-Free Brookie Recipe
For those with gluten sensitivities, creating a gluten-free brookie is simple with a few substitutions.
- Flour Alternatives:
- Replace all-purpose flour with a gluten-free all-purpose baking mix. Look for one that includes xanthan gum for structure.
- Almond flour or oat flour can also work but may require slight adjustments in measurements.
- Brownie Layer Adjustments:
- Use gluten-free cocoa powder and check that any chocolate used is certified gluten-free.
- Cookie Layer Adjustments:
- Ensure baking soda and vanilla extract are gluten-free (most are, but it’s worth verifying).
- Texture Tips:
- Gluten-free dough tends to spread less. To achieve even layers, gently flatten the cookie dough over the brownie batter.
Replace all-purpose flour with gluten-free alternatives like almond or oat flour. Learn more in our section on Gluten-Free Baking Essentials.
Vegan Brookie Recipe
Making vegan brookies is easy with plant-based swaps for traditional ingredients.
- Butter Substitute:
- Use vegan butter or coconut oil in both layers.
- Egg Replacement:
- Replace each egg with a flaxseed egg (1 tablespoon ground flaxseed + 3 tablespoons water, mixed and left to thicken for 5 minutes).
- Chocolate Choices:
- Use dairy-free chocolate chips or chunks. Many brands now offer vegan-friendly options.
- Extra Moisture:
- Add a tablespoon of almond milk or oat milk to the cookie dough if it feels too dry.
- Bake Time Adjustments:
- Vegan batters may bake slightly faster, so check for doneness around the 25-minute mark.
Swap out butter for coconut oil and eggs for flaxseed alternatives. Check out other vegan dessert options in Sweet Breakfast Cravings.
Creative Twists
Brookies are the perfect canvas for experimentation. Try these ideas to add a unique touch to your dessert.
- Peanut Butter Brookies:
- Swirl peanut butter into the brownie batter before layering the cookie dough. Top with crushed peanuts for extra crunch.
- Brookie Blondies:
- Replace the brownie layer with a blondie base for a lighter, caramel-like flavor.
- Layered Brookie Cake:
- Bake multiple thin layers of brookies and stack them with frosting or ganache in between for a show-stopping cake.
- Mint Chocolate Brookies:
- Add mint extract to the brownie batter and sprinkle crushed mint candies over the top before baking.
- S’mores Brookies:
- Mix crushed graham crackers into the cookie dough and top with mini marshmallows before baking for a campfire-inspired twist.
Seasonal and Holiday Variations
Brookies are a fantastic dessert to adapt for holidays and special occasions.

- Pumpkin Spice Brookies:
- Add pumpkin puree and warm spices (like cinnamon, nutmeg, and cloves) to the brownie batter for a fall-inspired treat.
- Red Velvet Brookies:
- Incorporate red food coloring and a touch of cocoa powder into the cookie dough for a vibrant Valentine’s Day dessert.
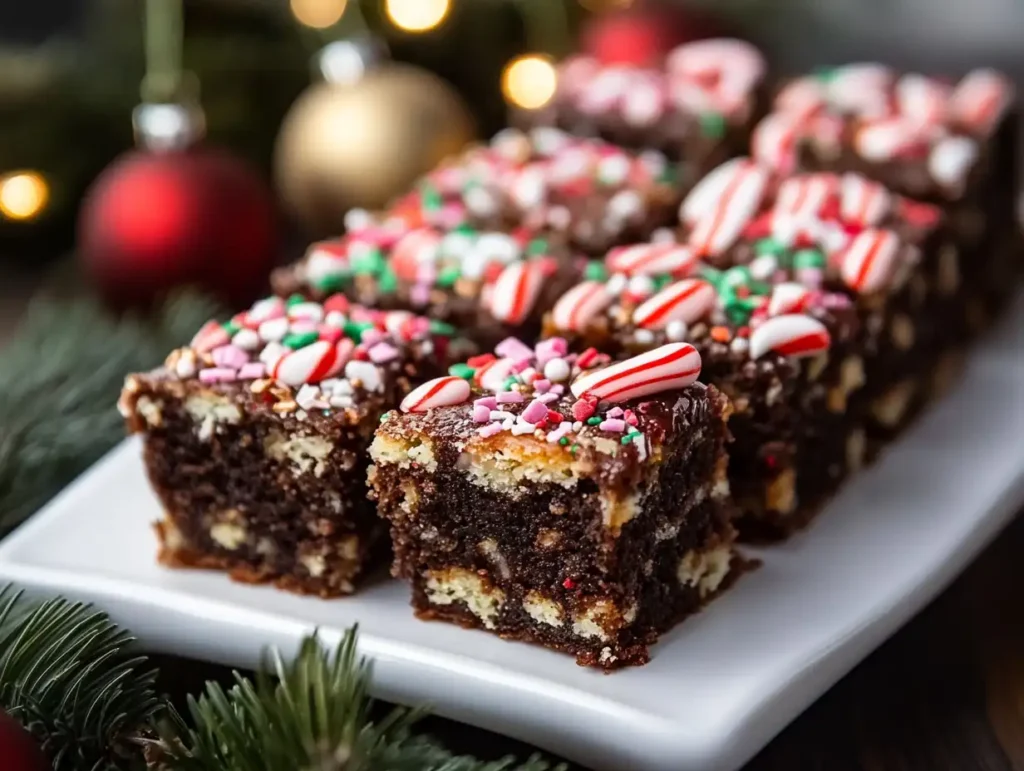
- Peppermint Brookies:
- Crushed candy canes sprinkled on top make for a festive holiday brookie.
With these variations, you can reinvent brookies for every occasion or personal preference. Up next, we’ll cover tips on presentation, serving suggestions, and how to make your brookies stand out visually.
Presentation & Serving
The way you present your brookies can elevate them from a casual dessert to a showstopping treat. Here are tips and tricks to slice, serve, and enjoy your brookies at their best.
How to Cut Perfect Slices
- Cool Completely:
- Before cutting, let the brookies cool entirely on a wire rack. Warm brookies are likely to crumble and lose their shape.
- Use the Right Knife:
- A long, sharp knife or a serrated bread knife works best for clean edges.
- Dip and Wipe:
- Dip the knife blade in hot water, then dry it with a towel between cuts to achieve smooth, crumb-free slices.
- Size Options:
- For casual sharing, cut into squares or rectangles. For elegant plating, trim edges and cut into even triangles or diamonds.
Serving Suggestions
Brookies pair beautifully with a variety of accompaniments. Here are some ideas to take your dessert to the next level.
- A La Mode:
- Serve warm brookies with a scoop of vanilla ice cream. The contrast of hot and cold creates an irresistible combination.
- Chocolate Drizzle:
- Drizzle melted chocolate or chocolate ganache over the brookies for added decadence.
- Dusting of Powdered Sugar:
- A light dusting of powdered sugar enhances the visual appeal, especially for holiday-themed brookies.
- Coffee or Tea Pairing:
- The rich, chocolatey flavor of brookies complements a robust coffee or a spiced chai latte.
- Layered Dessert Cups:
- Crumble brookies into small pieces and layer them in a glass with whipped cream and berries for a unique parfait-style serving.
Storing and Reheating
- Storage Tips:
- Keep brookies in an airtight container at room temperature for up to 3 days. For longer storage, refrigerate for up to a week or freeze for up to 3 months.
- Reheating Instructions:
- To enjoy warm brookies, microwave a slice for 15-20 seconds or heat in a 300°F (150°C) oven for 5-7 minutes.
Styling for Special Occasions
- Holiday-Themed Decorations:
- Add holiday sprinkles, edible glitter, or themed toppings to match the occasion.
- Gift Wrapping:
- Wrap individual brookie squares in decorative cellophane and tie with a ribbon for a thoughtful gift.
- Dessert Display:
- Arrange brookies on a tiered dessert stand for parties or events. Layer with parchment paper to prevent sticking.
With these presentation and serving tips, your brookies will be the star of any dessert table. Up next, we’ll dive into frequently asked questions to help troubleshoot common issues and provide additional tips.
FAQs
To help you achieve perfect brookies, here are answers to some frequently asked questions and common troubleshooting tips.
Common Brookie Questions
- How do I prevent brookies from being undercooked in the middle?
- Ensure your oven is properly preheated to the correct temperature (350°F/175°C).
- Use a toothpick to test doneness. Insert it into the center; it should come out with a few moist crumbs, not raw batter.
- Can I use store-bought mixes for this recipe?
- Yes! You can use pre-made brownie and cookie dough mixes for a quicker version of brookies. Follow the layering and baking instructions provided.
- What’s the best way to reheat frozen brookies?
- Thaw the brookies overnight in the refrigerator. Reheat in a 300°F (150°C) oven for 5-10 minutes for a freshly baked taste.
- Why did my layers mix together during baking?
- To prevent mixing, ensure the brownie batter is thick enough to support the cookie dough. If the dough is too soft, chill it briefly before layering.
- Can I bake brookies in individual portions?
- Absolutely! Use a muffin tin lined with cupcake liners to create single-serve brookie cups. Adjust the baking time to about 20-25 minutes.
- How long do brookies last at room temperature?
- Brookies can stay fresh in an airtight container at room temperature for up to 3 days. For extended freshness, refrigerate or freeze them.
Troubleshooting Tips
- Crumbly Cookie Dough:
- If the cookie dough feels too dry, mix in a tablespoon of milk or water to improve consistency.
- Overbaked Brookies:
- Check your oven temperature with an oven thermometer to ensure accuracy. Cover the pan loosely with foil if the top browns too quickly.
- Sticky or Difficult-to-Cut Brookies:
- Chill the brookies in the refrigerator for 30 minutes before slicing to ensure clean, neat cuts.
Conclusion
Brookies are the perfect treat for anyone who loves the best of brownies and cookies in one bite. Whether you stick to the classic recipe or experiment with creative twists, this dessert is sure to impress. With their chewy cookie top and fudgy brownie base, brookies are versatile, crowd-pleasing, and downright irresistible.
So, gather your ingredients, preheat your oven, and start baking your way to the ultimate brookie experience. Don’t forget to share your creations and variations with family and friends they’ll love them as much as you do!

