How to caramelize crème brûlée Crème ? a timeless French dessert, owes much of its charm to its signature feature: a caramelized sugar crust. Learning how to caramelize crème brûlée perfectly is essential to achieving that satisfying crunch that contrasts beautifully with the creamy custard base. Whether you’re a beginner or a seasoned chef, mastering this technique will elevate your dessert game.
Caramelization doesn’t just add texture but also deepens the flavor profile, creating a balance of sweetness and slight bitterness that enhances the dessert. For a deeper dive into the flavor profile of crème brûlée, check out our comprehensive guide.
In this guide, we’ll take a step-by-step journey through the process of caramelizing brûlée. From understanding the fundamentals to learning advanced techniques, you’ll gain all the knowledge needed to create a perfect caramel crust every time.
Table of Contents
Understanding Crème Brûlée
Crème brûlée, which translates to “burnt cream,” is more than just its iconic topping. Its creamy custard base forms the foundation of its identity. Learn more about its composition and origins in this detailed breakdown.But to truly master the art of caramelizing brûlée, it’s essential to understand the dessert’s composition and how each element contributes to its magic.
Origin and History of Crème Brûlée
The origins of crème brûlée are as rich as its flavor. While the dessert is often associated with French cuisine, variations have appeared in Spanish (crema catalana) and English (Trinity cream) culinary traditions. The French version, however, is renowned for its simple yet elegant preparation, and its crowning glory the caramelized sugar crust sets it apart.
The technique of caramelizing sugar has evolved alongside culinary advancements, moving from hot pokers to today’s culinary torches and broilers. This history of innovation highlights the importance of the caramelization process in defining crème brûlée’s identity.
Components of Crème Brûlée
- Custard Base:
At its heart, crème brûlée is a custard made from cream, egg yolks, sugar, and vanilla. The custard is baked gently to achieve a smooth, creamy texture. This foundation contrasts beautifully with the crisp sugar topping. - Caramelized Sugar:
The thin layer of sugar on top is caramelized to create a glassy, golden-brown crust. This step not only adds visual appeal but also introduces a satisfying crunch and a touch of bitterness that complements the custard’s sweetness.
The Role of Caramelization
Caramelization is the transformative step that sets crème brûlée apart. This process develops flavors that range from sweet and buttery to nutty and smoky. Master the art of achieving the perfect caramelized crust with our expert tips. This reaction breaks down the sugar molecules, creating complex flavors ranging from sweet and buttery to nutty and smoky.
The process is delicate, requiring just the right amount of heat and timing to avoid burning. A well-caramelized brûlée achieves a harmonious balance between the sweetness of the custard and the slight bitterness of the crust, elevating the dessert to a new level.
Preparation for Caramelization
Before you can achieve the perfect caramel crust, preparation is key. From selecting the right tools to choosing the ideal type of sugar, every step sets the foundation for a flawless brûlée. Here’s what you need to know before diving into the caramelization process.
Essential Tools for Caramelizing
- Culinary Torch:
A culinary torch is the most common tool for caramelizing crème brûlée. Its focused flame allows you to heat the sugar evenly, giving you control over the caramelization process. - Broiler:
If you don’t have a torch, a broiler can be used as an alternative. While it requires more vigilance to avoid overheating the custard, it’s a reliable option for evenly caramelizing multiple servings at once. - Heatproof Dishes:
Crème brûlée is typically served in shallow, wide ramekins. These dishes ensure even heat distribution and make it easier to caramelize the sugar without overheating the custard. - Spatula and Spoon:
While not directly used for caramelization, these tools are essential for preparing and serving the dessert.
Choosing the Right Sugar
The type of sugar you use plays a crucial role in achieving the desired caramel crust. Here are some options:
- Granulated Sugar: The most common choice, granulated sugar melts evenly and produces a classic caramelized crust.
- Brown Sugar: Adds a richer, molasses-like flavor but can be trickier to caramelize evenly due to its moisture content.
- Turbinado or Demerara Sugar: These raw sugars have larger crystals, creating a thicker, crunchier crust.
Preparing the Custard Base
The custard base must be completely cooled before caramelizing. Here’s how to prepare it:
- Mix and Bake: Combine cream, sugar, egg yolks, and vanilla. Bake the mixture in a water bath until set but still slightly jiggly in the center.
- Chill Thoroughly: Allow the custard to cool to room temperature, then refrigerate for at least 4 hours. This ensures the custard remains firm during caramelization.
Setting the Stage for Caramelization
Once the custard is ready, the next step is to prepare it for caramelization:
- Dry the Surface: Gently blot the surface of the custard with a paper towel to remove any moisture. A dry surface ensures even sugar caramelization.
- Apply an Even Sugar Layer: Sprinkle a thin, even layer of sugar over the custard. Use about 1-2 teaspoons of sugar per ramekin and rotate the dish to distribute it uniformly.
- Tap Off Excess Sugar: Tilt the ramekin slightly and tap off any excess sugar to avoid thick, uneven patches.
Techniques for Caramelizing Brûlée
Caramelizing the sugar crust is the defining step in preparing crème brûlée. Whether using a culinary torch or a broiler, mastering the right technique is essential for achieving a perfect, glassy crust that cracks under your spoon. Let’s explore the methods in detail.

Using a Culinary Torch
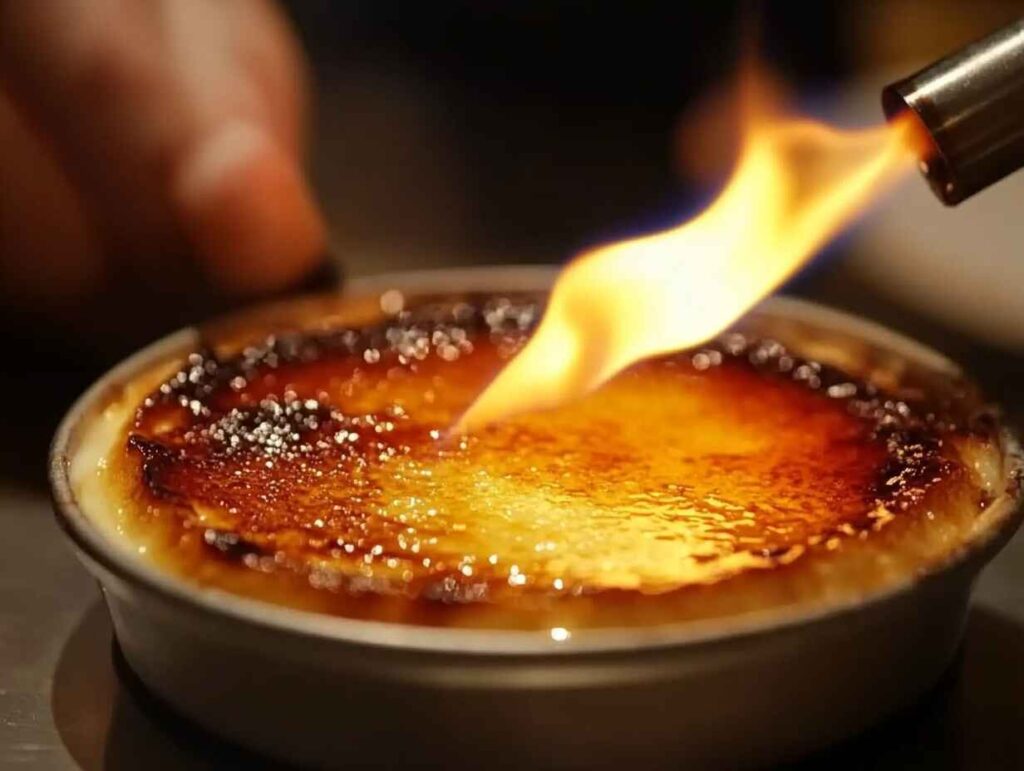
The culinary torch is the most popular tool for caramelizing brûlée, prized for its precision and ease of use. Here’s how to use it effectively:
- Hold the Torch Properly: Keep the torch at a 45-degree angle, about 2–3 inches away from the surface of the sugar. This distance prevents overheating the custard.
- Move in Circular Motions: Ignite the torch and move the flame in small, circular motions across the sugar layer. This technique ensures even caramelization and avoids burning any specific area.
- Watch for Color Changes: The sugar will melt, bubble, and gradually turn golden brown. Stop when the surface reaches your desired caramelization level—light and golden for a mild flavor, or deeper amber for a bolder taste.
- Cool Before Serving: Allow the caramelized layer to cool for a minute or two. This lets it harden into a brittle crust.
For more advanced techniques, including alternative tools and methods, explore our caramelization tips.
Caramelizing Under a Broiler
If you don’t have a torch, a broiler is a handy alternative. While it takes slightly more effort, it can still produce a delightful crust. Follow these steps:
- Preheat the Broiler: Set your oven’s broiler to high and allow it to preheat for a few minutes. Position the oven rack so the custards are about 2–3 inches below the heat source.
- Prepare the Custards: Place the ramekins on a baking sheet and sprinkle an even layer of sugar over the chilled custard.
- Broil with Care: Place the baking sheet under the broiler and watch closely. The sugar will caramelize within 2–5 minutes, but timing can vary based on your broiler’s intensity.
- Rotate for Even Caramelization: If needed, rotate the baking sheet halfway through to ensure all custards are evenly caramelized.
- Cool and Serve: Allow the caramelized custards to cool before serving.
For more advanced techniques, including alternative tools and methods, explore our caramelization tips.
Common Mistakes and How to Avoid Them
Even with the right tools, mistakes can happen. Here’s how to sidestep common pitfalls:
- Burnt Sugar:
- Cause: Holding the torch too close or leaving the custard under the broiler for too long.
- Solution: Keep a safe distance and monitor the caramelization process closely.
- Uneven Crust:
- Cause: Uneven sugar distribution or inconsistent flame movement.
- Solution: Ensure the sugar is spread uniformly and move the torch in smooth motions.
- Custard Melting:
- Cause: Prolonged exposure to heat.
- Solution: Work quickly and chill the custard thoroughly before caramelizing.
- Sticky or Soft Crust:
- Cause: Excess moisture on the custard or not allowing the caramel to harden.
- Solution: Dry the custard surface before adding sugar and let the caramel cool completely.
Tips for Perfect Caramelization
- Use fine sugar for a smoother melt and quicker caramelization.
- Avoid adding too thick a sugar layer—it should be just enough to coat the custard evenly.
- Practice with a small torch on other foods to perfect your technique before attempting crème brûlée.
Achieving the Perfect Caramel Crust
The caramelized sugar topping of crème brûlée is more than just a decoration—it’s a delicate balance of flavor, texture, and visual appeal. Creating this ideal crust requires attention to detail and a solid understanding of the caramelization process.
Tips for Sugar Distribution
- Choose the Right Quantity: Use 1-2 teaspoons of sugar per ramekin, depending on its size. Too much sugar can result in a thick, overpowering crust.
- Achieve Even Coverage: Sprinkle the sugar over the custard and gently tilt and rotate the ramekin until the surface is evenly coated. Uneven layers may result in patches of burnt or under-caramelized sugar.
- Tap Off Excess: After coating the surface, tip the ramekin to remove excess sugar. This step prevents clumping and ensures a thin, crackable crust.
Caramelization Levels: Light, Medium, or Dark
The color and flavor of your caramel crust depend on how long you heat the sugar. Here’s what to aim for:
- Light Caramelization:
- Appearance: Pale golden-brown.
- Flavor: Mild sweetness with minimal bitterness.
- Best For: Those who prefer a delicate contrast to the custard.
- Medium Caramelization:
- Appearance: Warm amber tones.
- Flavor: Balanced sweetness and a hint of smokiness.
- Best For: A classic crème brûlée experience.
- Dark Caramelization:
- Appearance: Deep golden-brown, nearing bronze.
- Flavor: Robust with pronounced bittersweet notes.
- Best For: Adventurous palates that enjoy bold contrasts.
Remember, the caramelization process moves quickly once the sugar begins to melt, so monitor the color closely to avoid burning.
Testing the Texture of the Crust
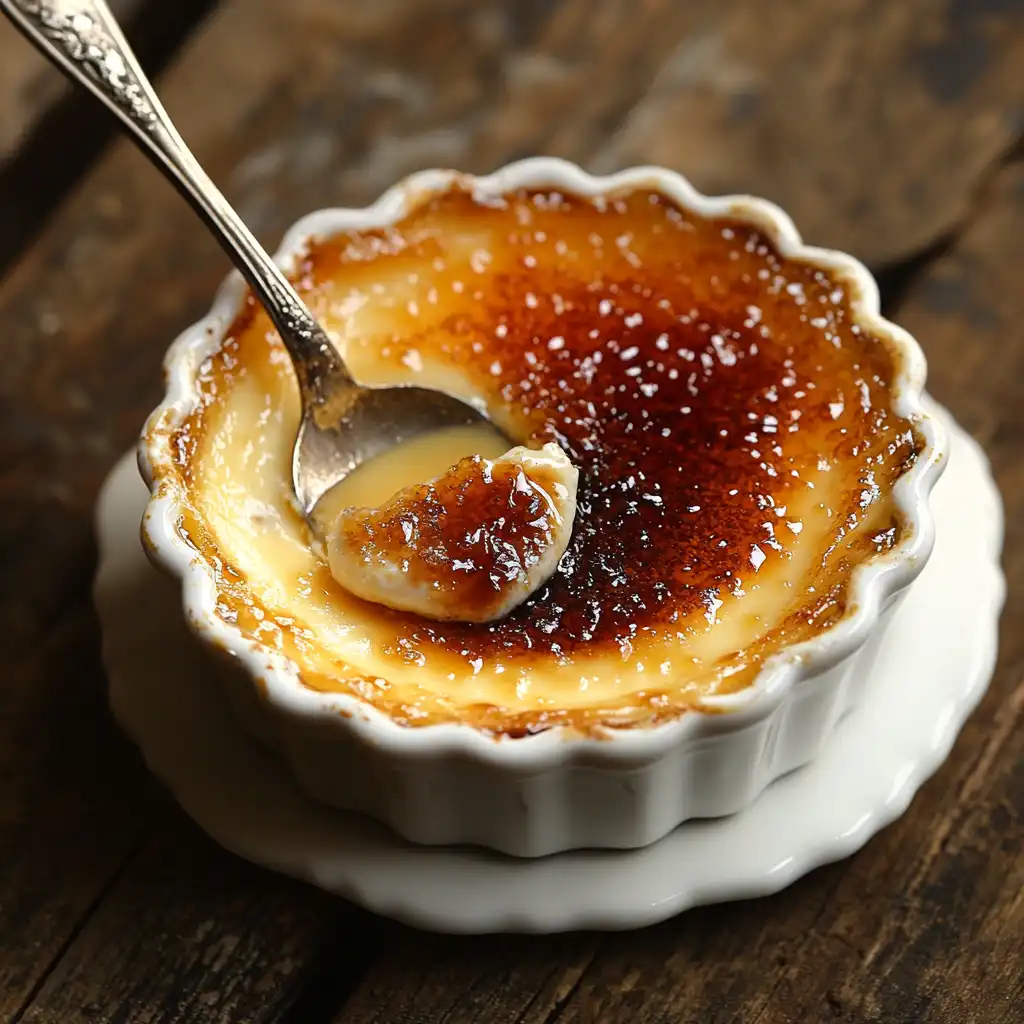
Once caramelized, the crust should harden within a minute or two. Test it by tapping gently with the back of a spoon. A properly caramelized crust will:
- Crack Cleanly: The crust should shatter under the pressure of a spoon, revealing the creamy custard below.
- Feel Firm: It shouldn’t feel sticky or soft to the touch.
If the crust doesn’t meet these criteria, adjustments to the sugar layer, heating time, or technique may be necessary.

Enhancing Visual Appeal
A beautiful caramel crust is a visual treat. To achieve a restaurant-quality look:
- Consistency: Aim for a uniform golden-brown hue with no dark or pale spots.
- Edges: Caramelize all the way to the edges of the ramekin for a professional finish.
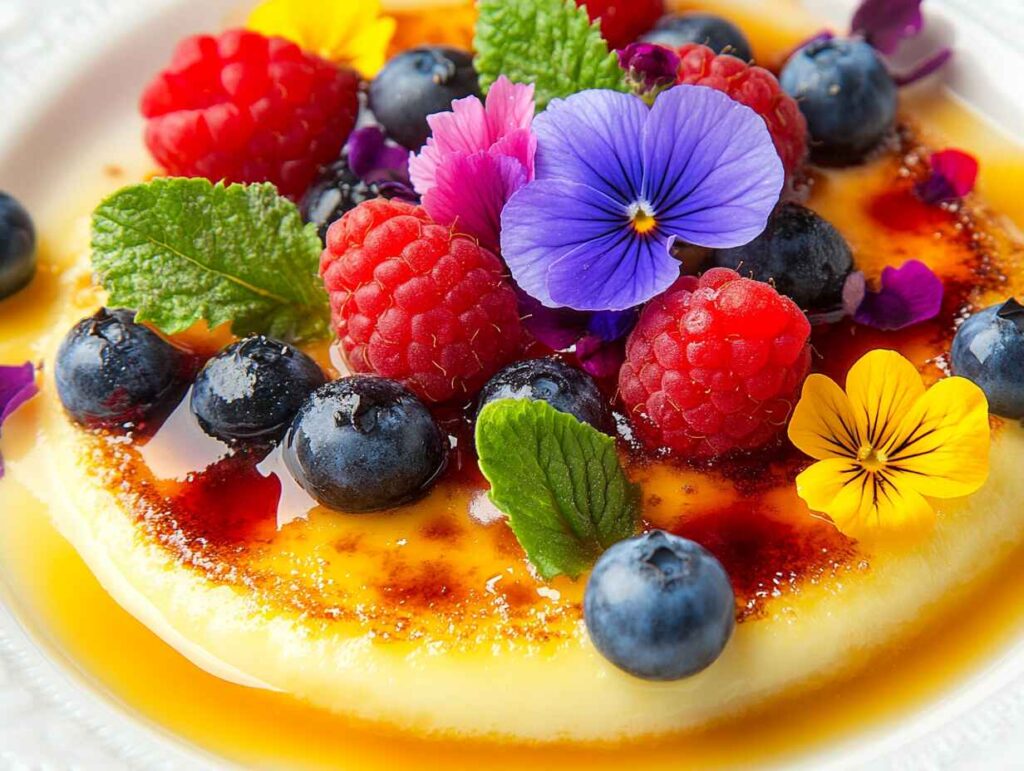
- Garnish: Add a light dusting of powdered sugar or an edible flower on top for an elegant presentation.
Advanced Tips for Caramelizing Brûlée
For those looking to elevate their crème brûlée game, experimenting with advanced techniques can add flair and creativity to your dessert.
Infusing Sugar with Flavors
- Vanilla Sugar: Store granulated sugar with a vanilla bean to create an aromatic sugar that enhances the dessert’s flavor.
- Citrus Zest: Mix a touch of lemon, lime, or orange zest into the sugar before caramelizing for a tangy twist.
- Spices: Incorporate cinnamon, nutmeg, or cardamom for a warm, spiced crust.
Alternative Sweeteners
- Coconut Sugar: Adds a caramel-like flavor and a darker crust.
- Honey Crust: Drizzle a thin layer of honey over the custard and broil it to create a unique caramelized topping.
- Maple Sugar: Perfect for a fall-inspired brûlée, with deep, earthy notes.
Garnishing Ideas for a Professional Finish
- Fresh Berries: Raspberries, blueberries, or sliced strawberries add a pop of color and freshness.
- Edible Flowers: Delicate flowers like pansies or violets elevate the dessert’s elegance.
- Chocolate Shavings: A sprinkle of dark or white chocolate enhances the visual appeal and complements the brûlée’s flavors.
Frequently Asked Questions (FAQs)
What type of sugar is best for caramelizing brûlée?
Granulated sugar is the best choice because it melts evenly and caramelizes quickly. For a crunchier crust, raw sugars like turbinado or demerara can be used, though they require more precise heat control.
Can I caramelize brûlée without a torch?
Yes, you can use an oven broiler as an alternative. However, ensure the custards are chilled thoroughly to prevent the custard from warming up under the intense heat.
How do I prevent burning the sugar?
Keep the torch moving continuously and monitor the color of the sugar closely. Avoid holding the flame in one spot for too long. If using a broiler, rotate the ramekins halfway through for even caramelization.
Can I caramelize brûlée ahead of time?
It’s best to caramelize crème brûlée just before serving to preserve the crispness of the crust. If done ahead, the caramel may soften due to moisture absorption.
How thick should the sugar layer be?
The sugar layer should be thin and even, approximately 1/8 inch. This allows the sugar to caramelize uniformly without leaving uncooked patches or becoming overly thick.
How can I achieve restaurant-quality brûlée at home?
- Use fine granulated sugar for even melting.
- Practice with your torch or broiler to perfect the caramelization technique.
- Garnish the brûlée with thoughtful touches like fresh fruit or edible flowers for a professional finish.
Conclusion
Caramelizing crème brûlée is both an art and a science. From preparing the perfect custard to mastering torch or broiler techniques, each step contributes to creating a dessert that’s as visually stunning as it is delicious. With these tips and insights, you’ll be well-equipped to craft crème brûlée with a perfectly crisp caramel crust that cracks with every spoonful. Don’t be afraid to experiment with flavors, textures, and garnishes to make the dish your own. Now, it’s time to grab your torch and start caramelizing!

