How to assemble a brookie? A brookie is the ultimate dessert hybrid a delightful combination of two beloved treats, brownies and cookies, layered together to create a single, irresistible indulgence. This dessert is perfect for anyone who loves the gooey richness of brownies and the buttery sweetness of cookies, all baked into one satisfying bite. Learn more about what a brookie is made of to fully appreciate its appeal.
Brookies have gained immense popularity in recent years, becoming a staple at parties, bakeries, and even in home kitchens. They offer the best of both worlds, bringing together contrasting textures and flavors for a dessert that’s as fun to make as it is to eat. For those seeking variations or a definitive approach, try the ultimate brookie recipe for more ideas.
In this guide, we’ll take you through a step-by-step process on how to assemble a brookie from scratch. Whether you’re a seasoned baker or a beginner looking to try something new, this article will equip you with all the knowledge and tips you need to make a brookie that’s perfectly layered, deliciously baked, and ready to wow anyone who takes a bite.
Brookies are versatile and can be customized to suit any occasion. But how do they compare to other layered desserts? Discover the difference between a blondie and a brookie to see what makes this treat so unique.
Table of Contents
Ingredients and Tools Needed
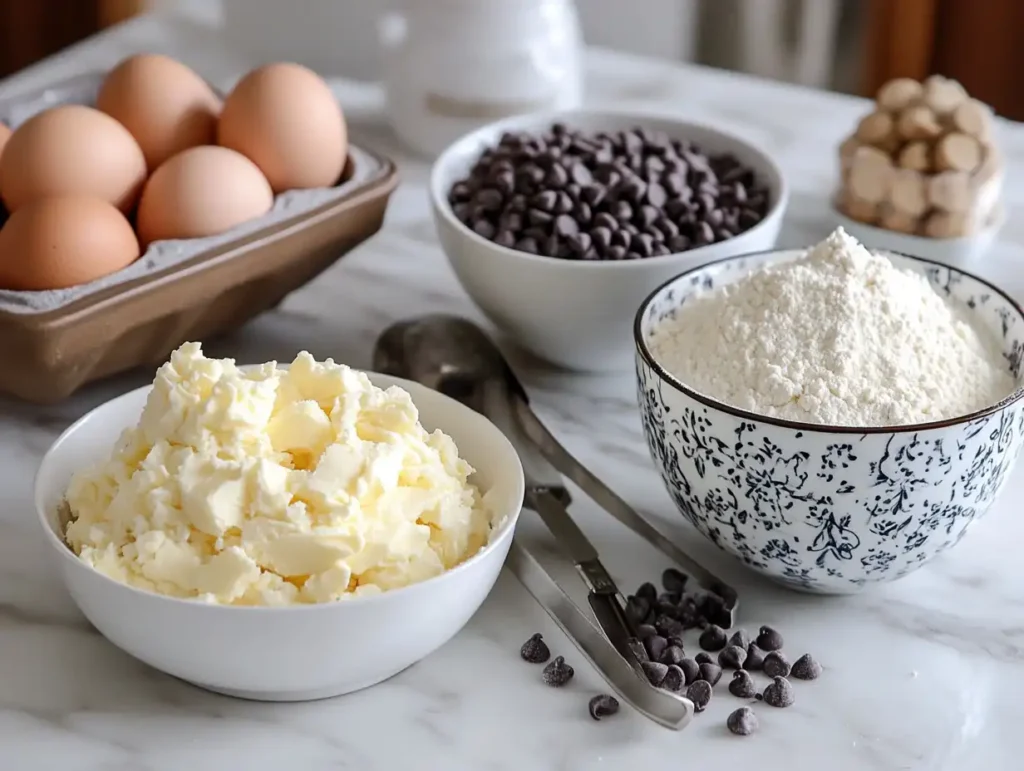
Making a brookie from scratch requires a mix of essential ingredients and the right tools to ensure success. What a brookie is made of provides a deeper dive into the components.
Essential Ingredients for the Cookie Layer
Begin by mixing ingredients like unsalted butter, sugar, and chocolate chips. For variations and creative inspiration, check the ultimate brookie recipe.
- Unsalted Butter (1 cup): Provides richness and helps create a soft texture.
- Granulated Sugar (¾ cup): For sweetness and a slightly crisp edge.
- Brown Sugar (¾ cup): Adds a deeper flavor and chewy texture.
- Eggs (2 large): Binds the ingredients together.
- Vanilla Extract (1 tsp): Enhances flavor with a warm, aromatic touch.
- All-Purpose Flour (2 ¼ cups): Forms the structure of the cookie.
- Baking Soda (1 tsp): Ensures the dough rises slightly during baking.
- Salt (½ tsp): Balances the sweetness.
- Chocolate Chips (1 ½ cups): Provides bursts of gooey chocolate in every bite.
Key Ingredients for the Brownie Layer
Mix melted butter with cocoa powder and sugar to form a rich brownie batter. For more ideas about combinations, read about the difference between a blondie and a brookie.
- Unsalted Butter (½ cup): Creates a rich, moist brownie.
- Granulated Sugar (1 cup): Sweetens the batter and promotes a glossy top.
- Eggs (2 large): Incorporates air for a slight lift.
- Vanilla Extract (1 tsp): Complements the chocolate flavor.
- Cocoa Powder (½ cup): For a deep, chocolaty taste.
- All-Purpose Flour (½ cup): Ensures structure without making the brownie too dense.
- Salt (¼ tsp): Balances and enhances the chocolate flavor.

Tools and Equipment Required for Assembly
Having the right tools is crucial for assembling a brookie seamlessly. Here’s what you’ll need:
- Mixing Bowls: Separate bowls for the cookie dough and brownie batter.
- Electric Mixer or Whisk: For creaming butter and sugar or mixing batter.
- Measuring Cups and Spoons: Ensures accuracy for ingredients.
- 8×8-Inch Baking Pan: The ideal size for evenly baked layers.
- Parchment Paper: Prevents sticking and makes it easier to lift the brookie out of the pan.
- Rubber Spatula: For scraping bowls clean and spreading batter evenly.
- Oven Mitts: Ensures safe handling when transferring the pan to and from the oven.
Optional Add-Ons
To take your brookie to the next level, consider adding these:
- Chopped Nuts (½ cup): Adds a crunchy texture.
- Caramel Sauce (2 tbsp): Swirl into the brownie layer for extra flavor.
- Sprinkles (for topping): Adds a festive touch.
With these ingredients and tools ready, you’re all set to start preparing the layers for your brookie.
Preparing the Cookie Layer
The cookie layer is the foundation of your brookie. Its soft, chewy texture complements the rich, fudgy brownie layer above it. Follow these detailed steps to make the perfect cookie base.
Step-by-Step Recipe for the Cookie Base
- Preheat Your Oven:
Set your oven to 350°F (175°C) to ensure it’s at the right temperature when you’re ready to bake. - Cream the Butter and Sugars:
- In a large mixing bowl, combine 1 cup unsalted butter (softened), ¾ cup granulated sugar, and ¾ cup brown sugar.
- Use an electric mixer or whisk to beat the ingredients until the mixture is light and fluffy. This step incorporates air, which is crucial for achieving a soft cookie texture.
- Add the Eggs and Vanilla:
- Crack in 2 large eggs, one at a time, mixing well after each addition.
- Stir in 1 teaspoon vanilla extract to enhance the flavor.
- Combine Dry Ingredients:
- In a separate bowl, whisk together 2 ¼ cups all-purpose flour, 1 teaspoon baking soda, and ½ teaspoon salt.
- Gradually add this dry mixture to the wet ingredients, mixing until just combined. Be careful not to overmix, as this can make the cookies tough.
- Fold in Chocolate Chips:
- Gently fold in 1 ½ cups chocolate chips using a rubber spatula. Ensure the chips are evenly distributed throughout the dough.
Tips for Achieving the Perfect Texture
- Use Room-Temperature Butter: Softened butter blends more easily with sugar, creating a smoother dough.
- Chill the Dough (Optional): If you prefer a thicker cookie layer, refrigerate the dough for 20–30 minutes before spreading it in the pan.
- Avoid Overmixing: Stir the ingredients just until combined to prevent the dough from becoming dense.
Common Mistakes and How to Avoid Them
- Too Flat or Greasy Dough:
- If the cookie dough spreads too much, it’s likely the butter was too warm. Always use softened, not melted, butter.
- Dry and Crumbly Dough:
- Overmixing or using too much flour can cause dryness. Use the spoon-and-level method to measure flour accurately.
- Uneven Distribution of Chocolate Chips:
- Mix the dough gently but thoroughly to ensure the chips are spread evenly throughout the batter.
Once your cookie dough is prepared, you’re ready to move on to the next step: creating the brownie layer. This will ensure your brookie has a perfectly layered structure.
Preparing the Brownie Layer
The brownie layer is what gives the brookie its rich, fudgy character, contrasting beautifully with the soft, chewy cookie base. This section will guide you through creating the ideal brownie batter for your brookie.

Step-by-Step Recipe for the Brownie Batter
- Melt the Butter:
- In a small saucepan or microwave-safe bowl, melt ½ cup unsalted butter. Allow it to cool slightly to prevent cooking the eggs when mixed.
- Combine Wet Ingredients:
- In a mixing bowl, whisk together the melted butter and 1 cup granulated sugar until smooth.
- Add 2 large eggs and 1 teaspoon vanilla extract, whisking thoroughly until the mixture is glossy and well combined.
- Mix the Dry Ingredients:
- In a separate bowl, sift together ½ cup cocoa powder, ½ cup all-purpose flour, and ¼ teaspoon salt.
- Gradually add this dry mixture to the wet ingredients, stirring gently until just incorporated. The batter should be thick and smooth.
- Optional Add-Ins:
- For extra flavor, fold in ½ cup chopped nuts or ½ cup chocolate chunks. These additions enhance the texture and richness of the brownie layer.
Mixing and Consistency Tips
- Avoid Overmixing: Overmixing the batter can lead to tough, dry brownies. Stir just until the dry ingredients disappear.
- Check the Consistency: The batter should be thick but pourable. If it’s too dry, add a tablespoon of milk or water to loosen it slightly.
Best Practices for Layering the Batter
- Spread Carefully:
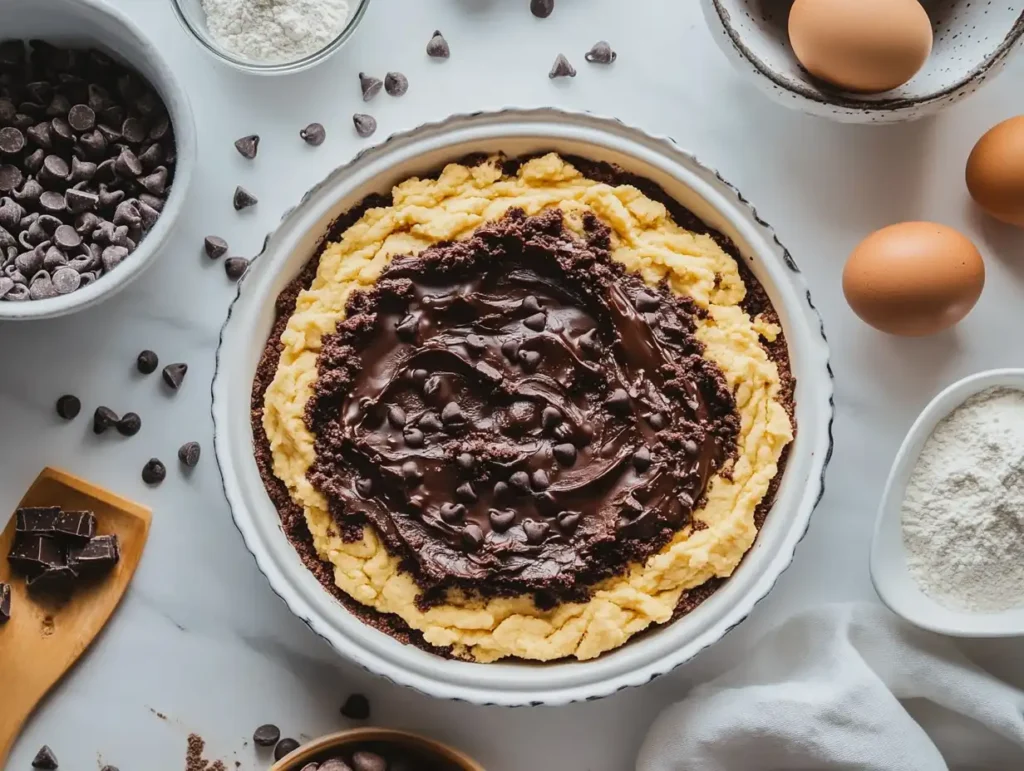
- Once the cookie dough is evenly pressed into the pan, gently spoon the brownie batter over the cookie layer. Use a spatula to spread it evenly.
- Layer with Precision:
- To ensure a distinct separation between layers, avoid mixing the brownie batter into the cookie dough. Work gently to keep the layers intact.
- Optional Swirl:
- For a creative touch, use a butter knife to create gentle swirls in the brownie layer, incorporating caramel or peanut butter if desired.
Common Mistakes to Avoid
- Uneven Layers:
- Ensure the cookie layer is level before adding the brownie batter. Uneven layers can lead to inconsistent baking.
- Overly Thin Batter:
- If the brownie batter is too runny, it might seep into the cookie layer. Proper measurement and following the recipe will prevent this.
- Underbaking:
- The thick brownie layer may take longer to bake. Use a toothpick to check for doneness (it should come out with a few moist crumbs, not raw batter).
With your brownie batter ready and layered atop the cookie base, the brookie is prepped for baking. Up next: mastering the baking process for a perfectly cooked treat.
Baking the Brookie
Now that the brookie is assembled, the baking process will determine its texture, flavor, and overall success. Follow these steps and tips for perfectly baked brookies.
Ideal Baking Temperature and Duration
- Preheat the Oven:
- Set your oven to 350°F (175°C) if you haven’t already. A consistent temperature is crucial for even baking.
- Bake the Brookie:
- Place the baking pan on the middle rack of the preheated oven. Bake for 30 to 35 minutes.
- Start checking for doneness at the 30-minute mark to avoid overbaking.
- Use a Toothpick to Test:
- Insert a toothpick into the center of the brookie.
- If it comes out with moist crumbs (not raw batter), the brookie is done. Keep in mind that the cookie layer and brownie layer may bake at slightly different rates, so a few gooey spots in the brownie layer are fine.
Signs Your Brookie is Perfectly Baked
- Golden-Brown Edges: The cookie layer around the edges should be golden brown and slightly crisp.
- Glossy Brownie Top: The brownie layer should have a shiny, crackled top—a hallmark of a well-baked brownie.
- Firm Center: The center should feel slightly firm to the touch but with some give, indicating a fudgy texture.
Cooling and Handling Tips
- Let It Cool in the Pan:
- Once baked, remove the pan from the oven and let the brookie cool in the pan for at least 15 to 20 minutes. This helps the layers set and prevents crumbling when cutting.
- Use Parchment Paper for Easy Removal:
- If you lined your pan with parchment paper, lift the brookie out of the pan carefully using the edges of the paper. Place it on a cooling rack for another 10 minutes.
- Avoid Rushing:
- Cutting the brookie while it’s too hot can cause the layers to mix or crumble. Patience pays off here!
Troubleshooting Baking Issues
- Brookie Undercooked in the Middle:
- Cover the pan loosely with aluminum foil and bake for an additional 5–10 minutes. This prevents the top from over-browning while the center finishes cooking.
- Overly Dry Brookie:
- Overbaking or using too high a temperature can dry out the brookie. Keep an eye on the bake time and use an oven thermometer to ensure accuracy.
- Uneven Baking:
- If one side is overbaked while the other is underbaked, your oven might have hot spots. Rotate the pan halfway through baking for even heat distribution.
With your brookie baked to perfection, the next step is cutting and serving it beautifully, ensuring each piece showcases the delicious layers.
Cutting and Serving
After patiently baking and cooling your brookie, it’s time to cut it into neat portions and present it in a way that highlights its irresistible layers.
How to Properly Cut Brookies Without Cracking
- Choose the Right Tool:
- Use a sharp chef’s knife or a serrated knife for clean cuts.
- For extra precision, a bench scraper can work wonders.
- Warm the Knife:
- Run your knife under hot water, then dry it completely before each cut. This helps the blade glide through the dense layers without tearing.
- Mark Before Cutting:
- Lightly score the top of the brookie to mark your cuts. Aim for even, square portions—typically 9 to 12 pieces for an 8×8-inch pan.
- Cut with Gentle Pressure:
- Apply steady pressure as you slice, avoiding a sawing motion that might crumble the layers.
Serving Suggestions
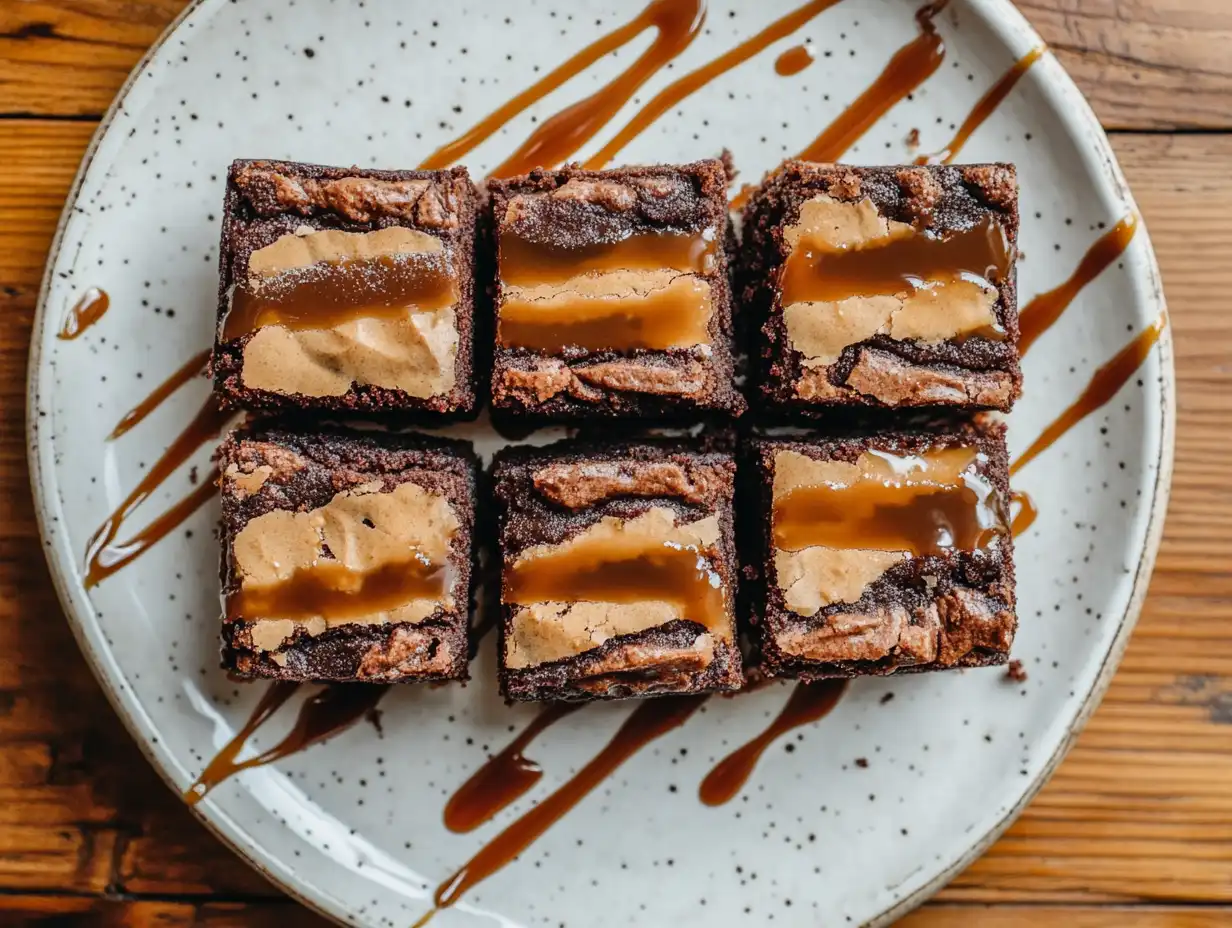
- Simple Plating: Arrange the squares on a platter with the layered sides visible for a tempting display.
- Add Garnishes: Dust with powdered sugar, drizzle with chocolate or caramel sauce, or top with a dollop of whipped cream for an elegant touch.
- Pairings: Serve brookies warm with a scoop of vanilla ice cream or a drizzle of espresso for an indulgent treat.
Creative Presentation Ideas
- Brookie Towers: Stack small squares into a layered tower and secure with a skewer for a stunning dessert table centerpiece.
- Gift Packaging: Wrap individual squares in parchment paper and tie them with twine for a delightful homemade gift.
- Mini Brookies: Use a muffin tin instead of a pan to create single-serve brookies. Adjust the baking time to 20–25 minutes.
Customizing Your Brookie
Brookies are endlessly customizable. If you’d like more ingredient insights, revisit what a brookie is made of. Or, take your baking further with variations in the ultimate brookie recipe.
Adding Extra Layers
- Caramel Swirl: Drizzle caramel sauce between the cookie and brownie layers before baking.
- Nutty Crunch: Sprinkle chopped pecans or walnuts over the cookie layer for added texture.
- Marshmallow Bliss: Add a layer of marshmallows over the brownie layer and broil briefly for a s’mores-inspired brookie.
Adjusting for Dietary Needs
- Gluten-Free: Substitute all-purpose flour with a gluten-free baking blend.
- Vegan: Replace butter with plant-based alternatives, eggs with flax eggs, and use dairy-free chocolate chips.
- Lower Sugar: Use a sugar substitute or reduce the sugar content slightly without compromising the taste.
Experimenting with Flavors
- Peanut Butter Brookies: Swirl peanut butter into the brownie batter before layering.
- Salted Caramel Brookies: Top the cooled brookie with a sprinkle of flaky sea salt and caramel drizzle.
- Holiday Variations: Add spices like cinnamon or nutmeg for a festive twist.
Conclusion
Brookies are the ultimate dessert mash-up, combining the best elements of cookies and brownies into one irresistible treat. With the guidance provided in this article, you now have everything you need to assemble, bake, and serve brookies like a pro. Whether you keep it classic or customize with creative twists, brookies are sure to delight anyone lucky enough to enjoy them. So grab your ingredients, fire up your oven, and prepare to impress with this sensational dessert!

