
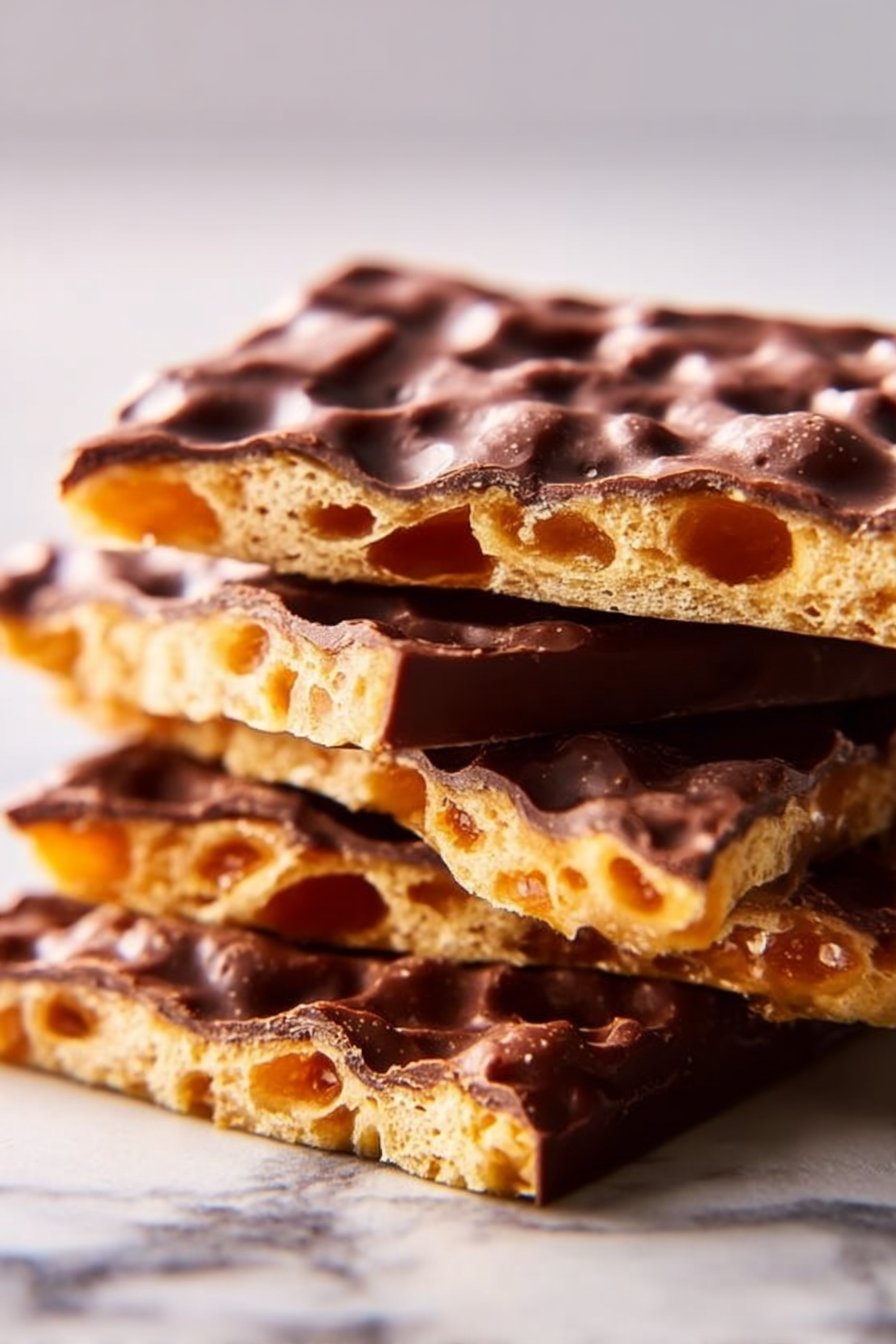
This Homemade Honeycomb Candy is light, airy, and crackly a caramel-like crunch with a whisper of vanilla and a melt-in-your-mouth texture. It’s special because the inside is a web of tiny bubbles that shatter with a joyful snap. Make it when you want a showy homemade snack, a last-minute edible gift, or a crunchy topper for ice cream and brownies.
Top reasons to make this:
- It takes just minutes to cook and set.
- It uses simple pantry staples.
- It makes a beautiful, homemade gift or dessert garnish.
Why You’ll Love This Recipe
- Ready in about 20 minutes and cools while you tidy up.
- Made with pantry staples you probably already have.
- Great for gifting or topping desserts — it looks fancy with little effort.
- Naturally vegan and gluten-free (no dairy, no wheat).
Try another simple homemade recipe here if you like quick, pantry-based treats.
Ingredients of Homemade Honeycomb Candy
- 1 cup granulated sugar
- 1/2 cup light corn syrup
- 1/4 cup water
- 1 teaspoon baking soda
- 1 teaspoon vanilla extract
- Pinch of salt
Step-by-Step Instructions of Homemade Honeycomb Candy
- Prepare a baking sheet by lining it with parchment paper or a silicone mat. Have a heatproof bowl and a spatula ready.
- Mix the sugar, light corn syrup, and water in a medium saucepan. Stir gently to combine; do not splash the mixture on the sides.
- Heat the mixture over medium heat without stirring. Use a candy thermometer and cook until it reaches 300°F (hard-crack stage). This takes about 8–10 minutes.
- Remove the pan from heat immediately. Carefully whisk in the baking soda all at once the mixture will foam up quickly and double in size.
- Stir in the vanilla extract and a pinch of salt, folding gently to spread the bubbles.
- Pour the foaming candy onto the prepared baking sheet and let it spread. Do not press or flatten; let it set on its own.
- Let the honeycomb cool completely (about 30–60 minutes) until hard. Break into pieces using your hands or a knife.

Tips for Success
- Use a candy thermometer to hit 300°F that gives the right snap.
- Work fast when adding baking soda; the foam sets quickly.
- Avoid stirring the sugar mixture while it heats to prevent crystallization.
- Keep the candy dry humidity makes it sticky.
Substitutions & Variations of Homemade Honeycomb Candy
To Make It Vegan/Gluten-Free:
- The basic recipe is already vegan and gluten-free. Just check your corn syrup for cross-contamination if needed.
Variations:
- Dip pieces halfway in melted dark or milk chocolate for a fancy finish.
- Sprinkle flaky sea salt on top right after pouring for a sweet-salty twist.
- Add 1/4 teaspoon ground ginger or cinnamon to the sugar mix for a warm spice note.
- Swap light corn syrup for golden syrup if that’s what you have on hand (texture may vary slightly).
Storage Instructions of Homemade Honeycomb Candy
Refrigerator:
- Avoid refrigerating if possible the fridge’s moisture can make the honeycomb soft and sticky. If you must refrigerate, keep it in an airtight container with a paper towel to absorb moisture and use within 1 week.
Freezer:
- Freeze pieces in an airtight container or vacuum bag for up to 1 month. Thaw at room temperature before opening to avoid condensation.
Make-Ahead:
- Make honeycomb a day or two ahead and store at room temperature in an airtight container. It stays crisp and makes a quick, impressive gift.
Frequently Asked Questions (FAQ) of Homemade Honeycomb Candy
How do I stop the sugar from crystallizing?
- Wipe down the pan sides with a wet pastry brush as it heats and avoid stirring the mixture while it boils.
Why did my honeycomb go chewy instead of crunchy?
- It likely didn’t reach the hard-crack temperature (300°F). Reheat and test with a candy thermometer next time.
Can I make this without corn syrup?
- You can try golden syrup or a small amount of honey, but corn syrup helps prevent recrystallization and gives the best texture.
Final Thoughts
Homemade Honeycomb Candy is a tiny bit of kitchen magic quick to make, dramatic to watch, and delightful to eat. It’s perfect for busy home bakers who want a special treat without a long recipe. Give it a try, leave a comment, and don’t forget to rate the recipe with stars if you enjoyed it I love hearing how your honeycomb turned out!
Print
Homemade Honeycomb Candy
A quick and crunchy homemade treat that resembles candy shop delights, perfect for snacking, gifting, or topping desserts.
- Total Time: 20 minutes
- Yield: 4 servings
Ingredients
- 1 cup granulated sugar
- 1/2 cup light corn syrup
- 1/4 cup water
- 1 teaspoon baking soda
- 1 teaspoon vanilla extract
- Pinch of salt
Instructions
- Prepare a baking sheet by lining it with parchment paper or a silicone mat. Have a heatproof bowl and a spatula ready.
- Mix the sugar, light corn syrup, and water in a medium saucepan. Stir gently to combine; do not splash the mixture on the sides.
- Heat the mixture over medium heat without stirring. Use a candy thermometer and cook until it reaches 300°F (hard-crack stage), which takes about 8–10 minutes.
- Remove the pan from heat immediately and carefully whisk in the baking soda all at once — the mixture will foam up quickly and double in size.
- Stir in the vanilla extract and a pinch of salt, folding gently to incorporate the bubbles.
- Pour the foaming candy onto the prepared baking sheet and let it spread without pressing or flattening.
- Let the honeycomb cool completely (about 30–60 minutes) until hard, then break into pieces using your hands or a knife.
Notes
Use a candy thermometer to ensure the mixture reaches the right temperature for a perfect crunch. Avoid refrigerating the candy as moisture can make it sticky.
- Prep Time: 10 minutes
- Cook Time: 10 minutes
- Category: Dessert
- Method: Candy Making
- Cuisine: American
- Diet: Vegan, Gluten-Free